| Create Edited Angle #3
These are the steps needed to produce the following angle:
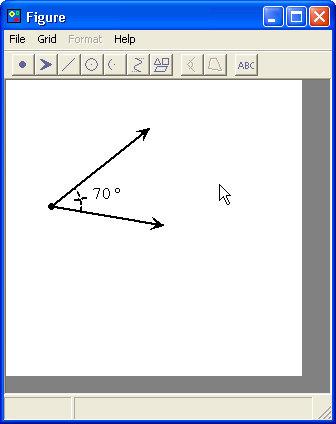
- Open the Figure Editor.
- Insert a line and position it as shown.
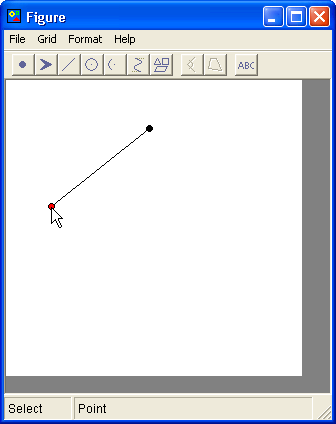
- Insert a second line and attach it to the
end-point of the first line.
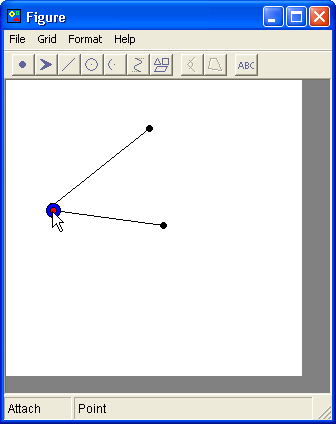
- While holding down the CTRL key, select the 3
points. Select them in order so that the vertex of the angle is
the 2nd point chosen.
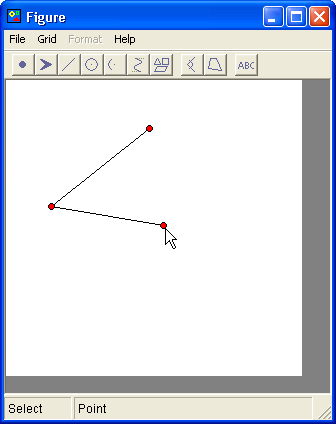
- Press the Angle button on the toolbar.
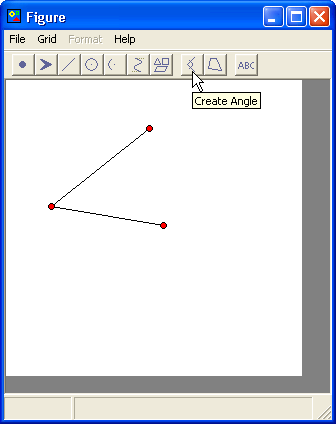
- Insert arrows and connect them to the
end-points of the lines.
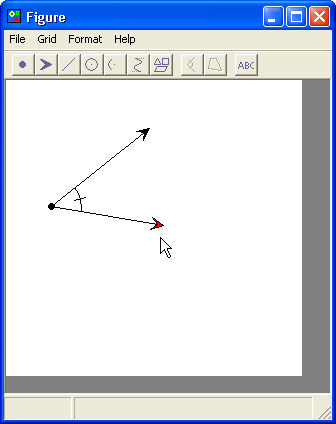
- Select a line and right-click. A menu
appears, select Line Width...
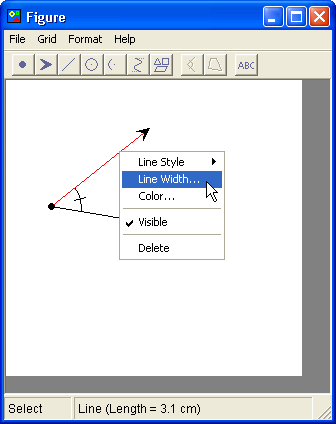
The Line Width Dialog appears. Select a line width of 2 and
close the dialog box.

Repeat these steps with the other line.
- Select the angle and right-click. A menu
appears, select Line Style > Dashes.
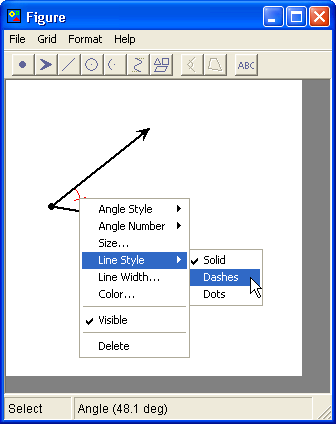
Then select Line Width... and change the line width to 2.
- Insert a label by clicking on the Label Button on the
toolbar. (or by selecting it from the right-click menu)
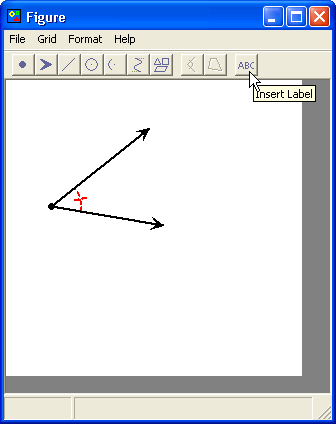
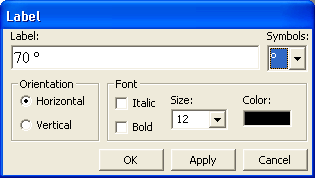
The Label dialog box will appear. Enter 70 in the textbox.
Select the degree symbol from the Symbols dropdown box. Click
OK close the dialog box.
- Position the label.

|